3 Ways To Lace Up Running Shoes for Wide Feet
May 14, 2026
 0
0
 3 Ways To Lace Up Running Shoes for Wide Feet www.runnerclick.com
 Often, runners are shocked to learn that there are very particular ways to lace-up shoes to help them fit better.
Whether you have narrow feet, wide feet, flat feet, or you are somewhere in between; there is a lacing plan for you.
Lacing shoes for wide feet is practically an art form!
Ready to learn how to lace running shoes for wide feet?
Why Runners With Wide Feet Should Be Aware
If you have wide feet and are you running in ill-fitting shoes, it can cause problems for you.
Any number of things determine the size and width of your feet, including:
- genetics
- age
- pregnancy
Studies show that 70% of people own shoes that do not fit properly. Walking (or running) in improperly fitting shoes can cause damage to your feet. Don’t let that happen to you.
People with wide feet can suffer from bunions and calluses, toe pain, heel slipping, black toenails, blisters, and problems like hammertoe.
Wearing shoes that properly fit you is an excellent way to prevent this.
First Things First: Get Measured
A great way to be sure you are in the best shoe for your foot is to get measured. Be certain to visit the shoe store later in the day when your feet are swollen.
Please note that even if you have great shoes, you might need to try some lacing tricks. After all, not everyone’s foot is the same size as the shoes.
If you have wide feet, there are certain styles and brands that offer a wide option.
3 Ways to Lace Running Shoes for Wide Feet
If you have a wide forefoot, the last thing you want is for your feet and the big toe to feel squished into your shoe toebox. Running with shoes that feel too tight is a common problem that can be very uncomfortable.
There are solutions out there, though, so don’t lose hope.
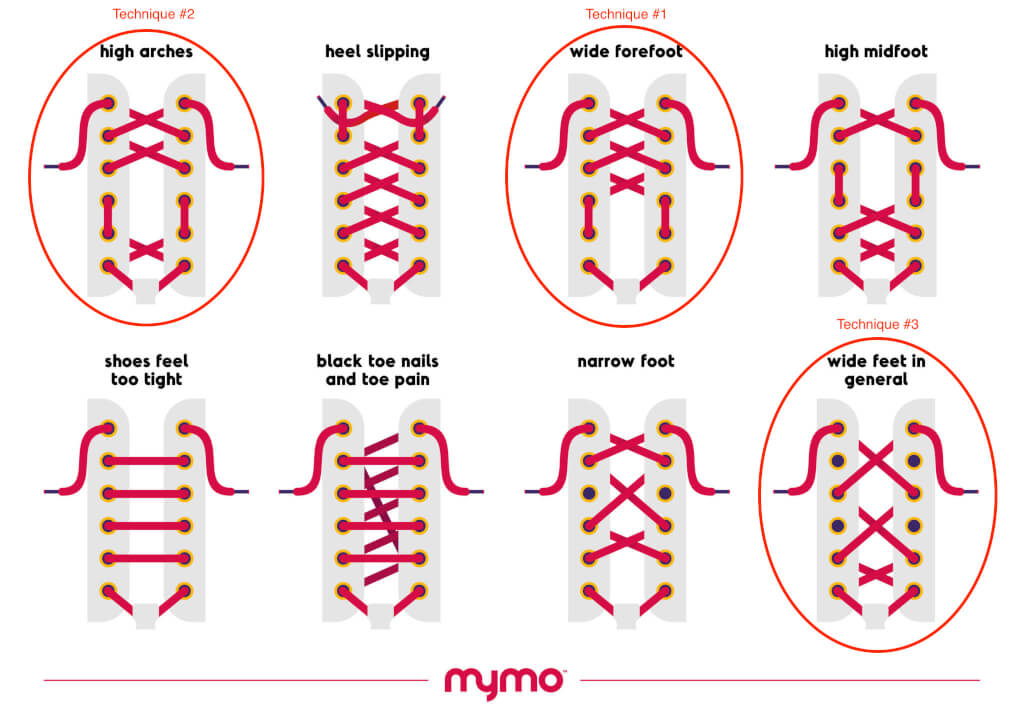
Technique #1
This shoe lacing technique takes the pressure off of the part of your foot that is not laced through; it also helps with heel lock.
- Start out how you would normally lace-up shoes.
- Skip the second eyelet going up and enter the third as pictured.
- Continue lacing normally.
- Tie at the top of the shoe.
Technique #2
So what if your problem is a wide forgot?
There is also a solution to that problem.
- Start lacing as you normally would.
- Then, you should only thread the shoelace through the sides
- Once you get to the midfoot and onward, resume the norma criss-cross pattern to the top.
- Tie normally.
Technique #3
A third way to lace shoes if you have wide feet is this:
- Start to lace the shoe normally with the criss-cross pattern.
- However, you should only thread the shoe in the cross-cross fashion through every other eyelet.
- Tie the shoe at the top as usual.
How Tight Should Running Shoes Be Laced?
Running shoes should be snug but not tight.
The space where the laces lie on your foot should span about two fingers width.
Seriously, try it.
Reach down and place two fingers over the laces. It is probably just about right if you can fit two fingers perfectly over the laces.
Don’t Settle for Uncomfortable
Let’s face it; if you are a runner, you spend plenty of time on your feet, and those moments should not be uncomfortable.
Comfort starts with a good fitting, getting yourself in a pair of shoes that work for your body, and proper lacing techniques.
In a world where there are so many options out there, you should not settle for shoes that are less than awesome.
Your body deserves comfort.
Latest Articles
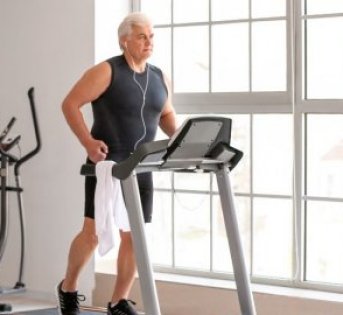 Is Running on a Treadmill Easier Than Running Outside?Runners have their own preferences, whether it is treadmill running, running outside on the road, or exploring trails. So...
 Is It OK to Use Trail Running Shoes on the Road?While trail running shoes can be used on roads, especially in situations where a runner encounters mixed terrains or pref...
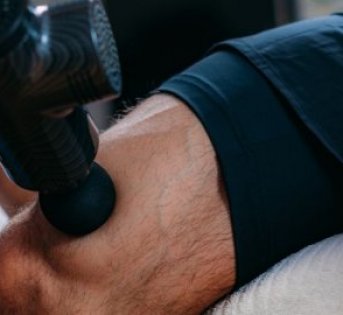 How to Fix Sore Quads After Running?Rest, ice, gentle stretching, and over-the-counter pain relievers can help soothe sore quads after running. Also, ensure ...
 10 Fruits With The Most Electrolytes to Replace Sports DrinksThese fruits are high in electrolytes such as potassium, magnesium, and calcium, essential for hydration, muscle function...